
Hey there! I'm a supplier of Weldable Steel Balls, and I know that dealing with damaged weldable steel balls can be a real pain in the neck. But don't worry, I'm here to share some tips on how to repair them.
Understanding the Types of Damage
First off, we need to figure out what kind of damage the steel balls have suffered. There are a few common types:
- Surface Scratches: These are often caused by rough handling or contact with abrasive materials during transportation or use. Minor scratches might not seem like a big deal, but they can affect the ball's performance over time.
- Cracks: Cracks can occur due to excessive stress, sudden impacts, or improper heat treatment during manufacturing. Even small cracks can compromise the structural integrity of the ball.
- Chips or Flakes: This kind of damage usually happens when the ball is subjected to high - pressure forces or coming into contact with hard objects.
Assessing the Damage
Before you start any repair work, it's crucial to assess the severity of the damage. You can use a simple magnifying glass or a more advanced inspection tool like a microscope for better accuracy.
- Visual Inspection: Look at the surface of the ball closely. Check for any visible signs of scratches, cracks, or chips. If possible, roll the ball on a flat surface to see if it moves smoothly. Any irregularities could indicate internal damage.
- Non - destructive Testing (NDT): For more accurate assessment, especially when dealing with suspected internal cracks, NDT methods like ultrasonic testing can be used. This helps in detecting hidden flaws that may not be visible to the naked eye.
Tools and Materials You'll Need
Once you've assessed the damage, gather the necessary tools and materials for the repair. Here's a general list:
- Grinding Wheel: For smoothing out rough surfaces and removing minor scratches. Make sure to choose the right grit depending on the severity of the damage.
- Welding Equipment: If the ball has cracks, you'll need a suitable welding machine and the right type of welding rod. For weldable steel balls, a welding rod compatible with the steel type is essential.
- Polishing Compound: To give the ball a smooth finish after grinding and welding.
- Safety Equipment: Don't forget safety goggles, gloves, and a welding mask to protect yourself during the repair process.
Repairing Surface Scratches
Surface scratches are relatively easy to repair. Here's how you can do it:
- Clean the Ball: Use a degreaser to clean the surface of the ball thoroughly. This removes any dirt, oil, or debris that could affect the repair process.
- Grind the Scratches: Use a grinding wheel with an appropriate grit to gently grind the scratched area. Start with a coarser grit and gradually move to a finer one for a smoother finish. Make sure to apply even pressure to avoid creating new scratches.
- Polish the Ball: Apply a polishing compound to the ball and use a soft cloth or a polishing wheel to buff the surface. This will give the ball a shiny finish and make the repaired area blend in with the rest of the ball.
Fixing Cracks
Repairing cracks in weldable steel balls is a bit more complicated. Here are the steps:
- Prepare the Crack: Use a grinding wheel to clean the edges of the crack and create a V - shaped groove. This helps the welding material to penetrate and bond better.
- Weld the Crack: Select the appropriate welding rod and set up the welding machine according to the manufacturer's instructions. Weld the crack slowly and carefully, making sure to fill the groove completely.
- Heat Treatment (Optional): Depending on the type of steel and the severity of the repair, you may need to perform a heat treatment. This helps to relieve stress in the welded area and improve the ball's hardness and toughness.
- Finish the Ball: After welding, use a grinding wheel to smooth the welded area. Then, polish the ball as described above for a finished look.
Dealing with Chips or Flakes
If the ball has chips or flakes, the process is similar to crack repair:
- Remove the Loose Material: Use a chisel or a grinding wheel to remove any loose chips or flakes from the surface of the ball.
- Weld the Area: Like with cracks, prepare the area for welding and use the appropriate welding rod to fill in the missing material.
- Smooth and Polish: Finish the repair by grinding and polishing the area to match the rest of the ball.
Quality Control After Repair
Once you've completed the repair, it's important to perform some quality control checks:
- Dimensional Inspection: Use a caliper or a micrometer to check if the ball's diameter and other dimensions are within the specified tolerance.
- Hardness Testing: You can use a hardness tester to ensure that the repaired area has the same hardness as the rest of the ball.
- Performance Testing: If possible, test the ball in its intended application to make sure it functions properly.
Conclusion
Repairing damaged weldable steel balls can save you a lot of money and resources. By following these steps and using the right tools and materials, you can bring your damaged balls back to life.
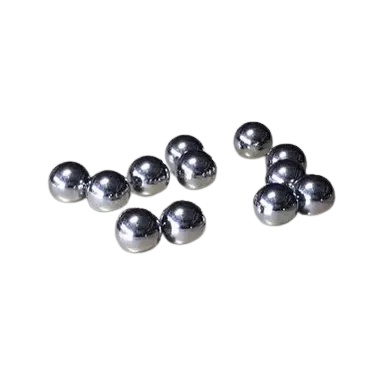
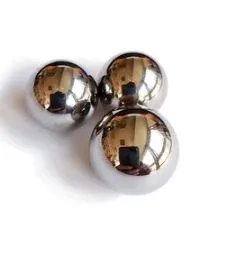
We are a reliable supplier of high - quality Weldable Steel Balls. If you're looking for Din 5401 Steel Ball, High Chrome Steel Balls, or Large Steel Ball, we've got you covered. Whether you need new balls or have questions about ball repair, feel free to reach out to us for procurement and discussions. We're here to help you with all your steel ball needs!
References
- Steel Manufacturing Handbook
- Welding Techniques for Metal Balls Guide