
Needle rollers are essential components in many mechanical systems, offering high load - carrying capacity in a compact design. As a needle roller supplier, I've witnessed the significance of proper installation procedures in ensuring optimal performance and longevity of these components. In this blog, I'll guide you through the step - by - step process of installing a needle roller.
Prerequisites Before Installation
Inspection
Before you start the installation, thoroughly inspect the needle rollers. Check for any visible damage such as cracks, scratches, or deformation. A damaged needle roller can cause premature failure of the entire system. Alongside, examine the housing and the mating surfaces where the needle roller will be installed. These surfaces should be clean, smooth, and free from any burrs or contaminants. A rough or dirty surface can accelerate wear on the needle roller.
Cleaning
Clean all the parts involved in the installation, including the needle rollers, the housing, and the shaft. You can use an appropriate cleaning agent, such as a mild solvent, and a clean lint - free cloth. After cleaning, make sure to dry the parts completely to prevent any corrosion.
Lubrication
It's crucial to lubricate the needle rollers before installation. Lubrication reduces friction during operation, dissipates heat, and protects the surface from wear and corrosion. Depending on the application, you can choose between grease or oil lubrication. For high - speed applications, oil lubrication is often preferred, while grease is suitable for low - to medium - speed applications. Apply a thin, even layer of lubricant to the surface of the needle rollers.
Installation Steps
Step 1: Prepare the Tools
Gather the necessary tools for the installation. This may include a press, a suitable alignment tool, and a torque wrench if the installation involves tightening bolts. Ensure that the tools are in good working condition and of the correct size for the needle rollers and the components of the system.
Step 2: Positioning the Needle Rollers
Carefully place the needle rollers in the raceway or the cage. Make sure they are evenly spaced and properly aligned. If you are using a cage - type needle roller bearing, the needles should fit snugly into the cage pockets. For full - complement needle roller bearings, ensure that the needles are arranged in an orderly manner to avoid any jamming during operation.
Step 3: Inserting into the Housing
Gently insert the assembled needle roller and cage (if applicable) into the housing. Use a press if necessary, applying a slow and even pressure. Take care not to tilt the needle rollers during insertion, as this can cause uneven loading and premature wear. It's advisable to use a guide or an alignment tool to ensure that the needle rollers are inserted straight and parallel to the housing axis.
Step 4: Installing the Shaft
Once the needle rollers are in the housing, carefully insert the shaft. Ensure that the shaft is clean and properly lubricated. The installation of the shaft should be done smoothly, without forcing it. If the shaft is too tight, it can damage the needle rollers. Use a torque wrench if the shaft is secured with bolts to ensure that the bolts are tightened to the specified torque value.
Step 5: Final Checks
After the installation is complete, perform a final visual inspection to ensure that everything is in place. Rotate the shaft gently by hand to check for any binding or abnormal resistance. If you encounter any problems, such as excessive noise or resistance, disassemble the components and check for proper alignment and installation.
Troubleshooting Common Installation Issues
Misalignment
If the needle rollers are misaligned during installation, it can lead to uneven loading and increased wear. To correct misalignment, check the housing and the shaft for proper alignment. Use alignment tools to ensure that the components are parallel and concentric.
Over - tightening
Over - tightening of bolts or other securing components can damage the needle rollers. Always follow the manufacturer's recommended torque values when tightening. If you suspect that the components have been over - tightened, loosen the bolts and re - tighten them to the correct torque.
Contamination
Even a small amount of contamination can cause significant problems in a needle roller system. If you notice contaminants during the installation process, clean the components thoroughly before proceeding. Ensure that the installation environment is clean to prevent further contamination.
Comparison with Other Types of Rollers
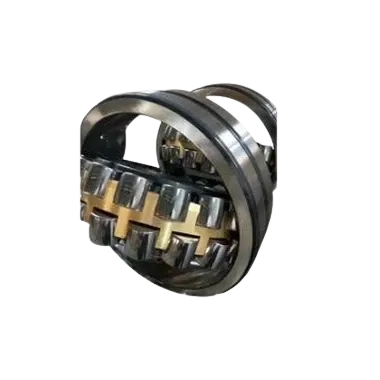
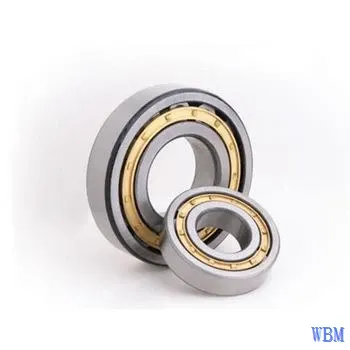
Needle rollers have unique advantages compared to other types of rollers, such as Cylindrical Roller, Interroll Tapered Roller, and Spherical Roller. Needle rollers are thinner and longer than cylindrical rollers, allowing them to handle high radial loads in a smaller space. Interroll tapered rollers are designed for applications that require axial load handling, while needle rollers are primarily for radial load applications. Spherical rollers can accommodate misalignment, but needle rollers are more suitable for applications where space is limited and high - precision radial support is needed.
Contact for Purchase and Consultation
If you are interested in purchasing high - quality needle rollers for your mechanical applications, or if you need further technical advice on installation or other related issues, I'm here to help. Feel free to initiate a discussion with me about your requirements. Professional guidance and reliable products are just a conversation away.
References
- "Rolling Bearing Technology Handbook", XYZ Publishing, 20XX
- "Advanced Machinery Components and Their Installation", ABC Publications, 20XX